Category: EDCI 336 Page 1 of 3

This is a category for the EdTech course. Please add this category in addition to the relevant edtech assignment category(ies).

Creating my Website!

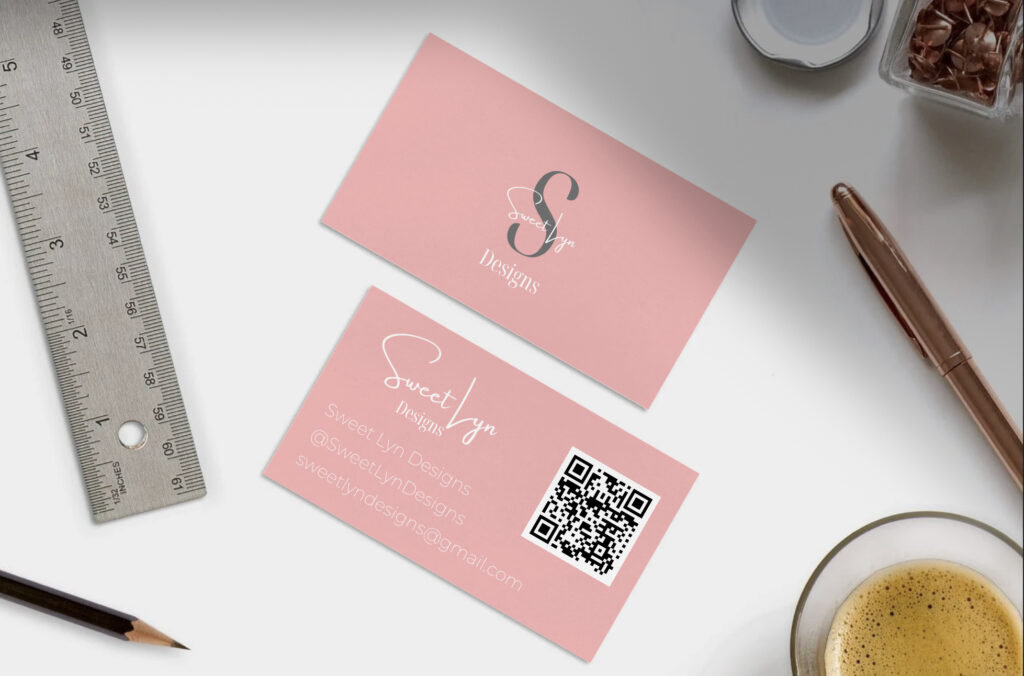
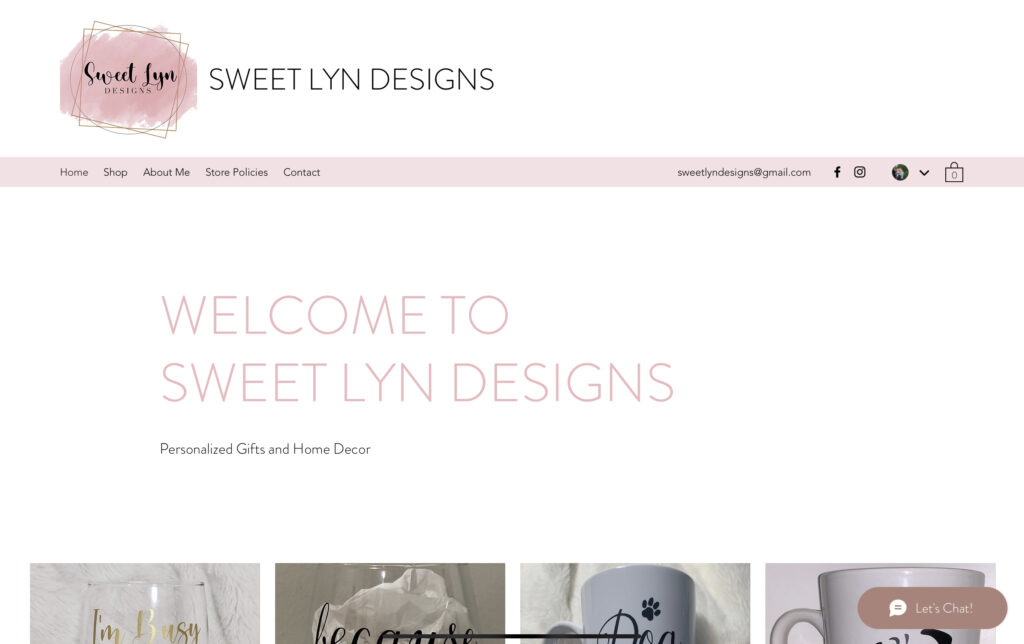
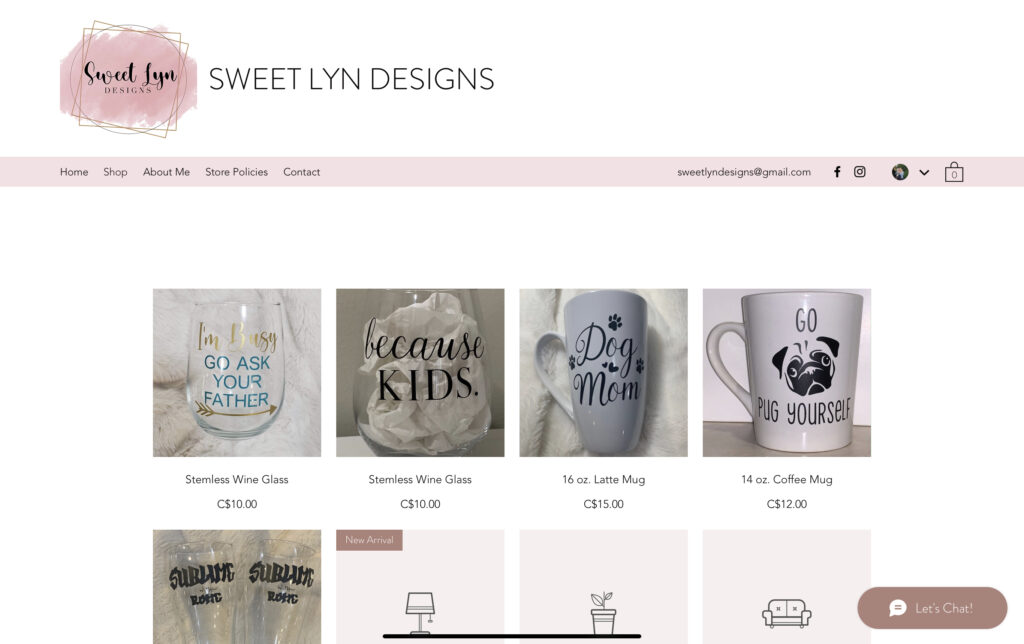
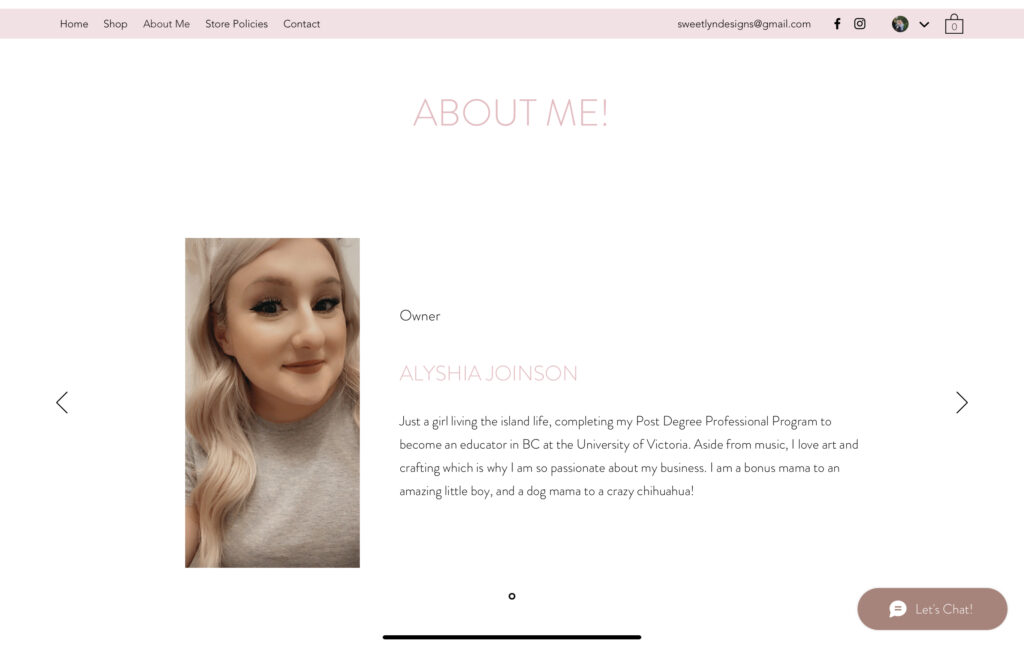
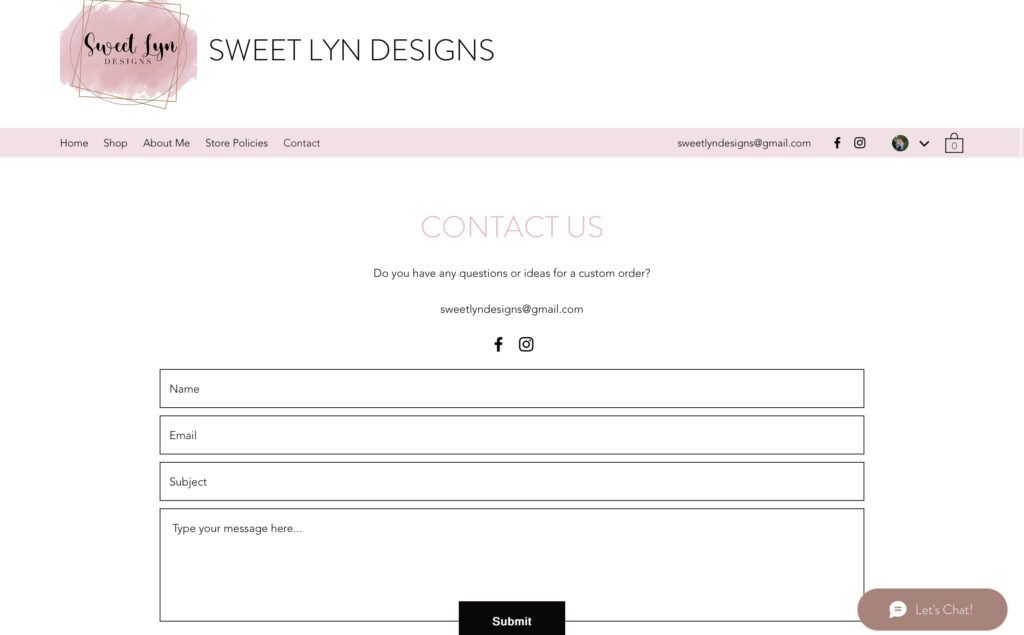
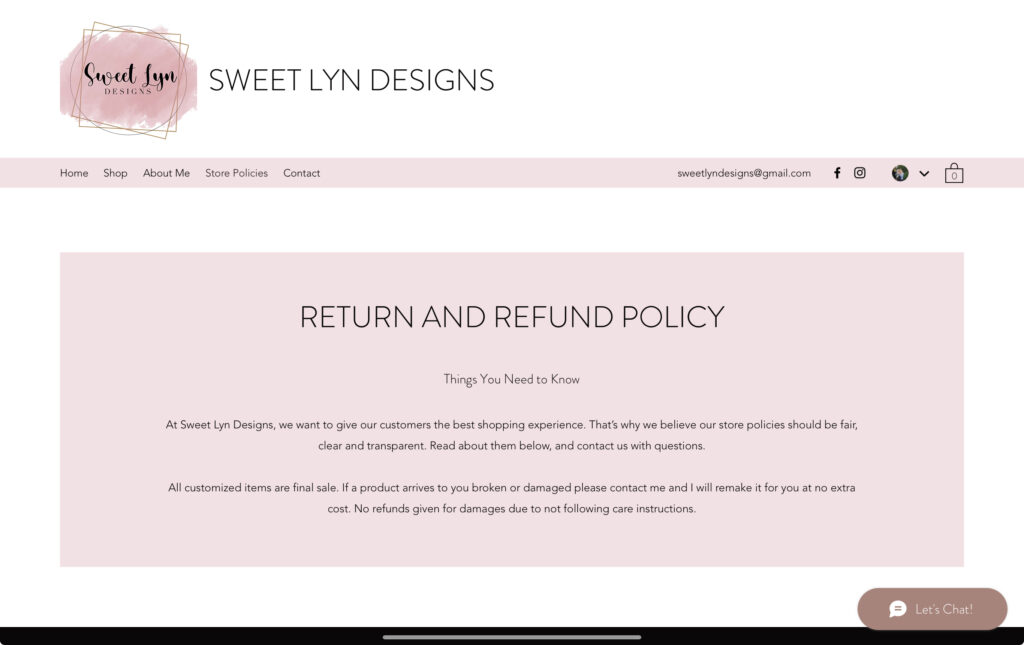
I have been talking about creating an official website for my business for quite sometime now, and it is actually something that I have been actively working on! I learned so much about technology over the past semester, and felt that it was so helpful in this process as a whole. I ended up using Wix to create my website, and although it is not published yet, I hope to have it published sometime before the new year (hopefully!). Shown above, I have taken some screenshots of my unpublished website and I am so proud of it so far. It took me a lot of time to figure out how to use the website first before I could even think about adding my own products, etc. So far, I have been able to list some products and their descriptions, as well as ordering instructions within each item listed. I have been able to embed links to my business’s social media pages and upload my business logo. I have been able to create a contact page for customers that, so far, actually works! I wish I could link the website within this post so that people can come back to it when it eventually goes live, but that doesn’t seem to be an option before the site is actually published.

The website as a whole is not completed yet, and I think I will do a lot of editing to it before that does happen. Now that I know how to screen cast, including audio, I think it could be a neat idea to show customers the process of how I design some of my items. I might even add a blog section to my website so that I can update my customers on various things. Who knows, maybe I could include things from this blog! I am also not yet set on using Wix as a platform as I know there are other website design resources out there, but in all I am proud of how far I have come since I started both the journey with my business, as well as my journey through learning how to use various technologies.

What is Sublimation?

“Introduction to Sublimation for Beginners” by Design Bundles

Sublimation is a technique that I have only learned and been using since last year around Christmas time. Instead of cutting SVG images into single coloured vinyl sheets to apply to items, sublimation allows you to print entire, multicoloured images, and apply them to your items using a heat press. The use of the heat press to apply the image is similar to how you would apply vinyl to an item, however it is different. With vinyl, you are heating the vinyl up so it attaches itself onto an item like a cotton shirt, or placing it on the item, such as a mug, like a sticker. These items customized with vinyl are not microwave or dishwasher safe, and run the risk of peeling if put into the washing machine or dryer. With sublimation, you are essentially melting the dye from the image directly into your shirt or mug, or whatever blank item you are using. Sublimation allows the items to be microwave or dishwasher safe, and there is no worry of the image eventually peeling off of the item. I have found sublimated items to be much more appealing to customers since they seem to be longer lasting and more versatile. The only downside to sublimation is that you have to use blank items that are made of 50% or more polyester in order for the ink to transfer properly.

Here is a mug that I made using sublimation that has a polyester/sublimation powder coating:

I also wanted to explain in this post what the company/website Design Bundles is!

Taken directly from the Design Bundles website:

“Design Bundles is the Digital Design Marketplace for Crafters, Graphic Designers, Businesses and Educators. We’ve got everything you need from SVG Files, Sublimation Designs, Graphics, Illustrations, Clipart, Laser Cutting Designs, Mockups, Paper Cutting Templates, Laser Cutting Templates, Patterns, Fonts, Textures, Monogram and much much more! Many of our designs can be used with cutting machines like Cricut and Silhouette and software like Canva, Procreate, Photoshop, Illustrator, Affinity and Inkscape.”

What is Design Space?

Design Space Tour – Screen Record by Alyshia Joinson

In the video above, I show you a brief tour of the graphic design tool that I use when creating with my Cricut Maker machine, called Design Space. This software is what you have to use in order to print images using the machines from Cricut. You can use other graphic design softwares such as Canva, or Procreate to create your designs, but then you must upload them to design space in order to connect to and print with your machine. The neat thing about Design Space and the Cricut machines is that you can print your designs using Bluetooth! You don’t have to be connected or even in the same room as your printer or cutting machine.

During the video, I show a variety of images to choose from if you don’t want to upload your own images or you want to add more to your designs. There are images on Design Space that are free to use, as well as images that you need to pay to access. There are also full projects that you can download through Design Space and it will take you through all of the instructions on how to make the project from start to finish.

An image I uploaded near the end of the video was a free to use SVG image. An SVG is different than a JPEG or PNG in how it can be separated into multiple layers to be cut. The snowflake that I used is actually sliced into four different images so that the design can be printed onto four different colours of vinyl. When you are editing images and designs in your editing software, it is important to always remember to save your file as an SVG! JPEG and PNG files can only be used when you are sublimating an image, meaning it is being printed as is and directly placed onto an item, no cutting involved. I will talk about sublimation in my next post.

How to Use Mockups

Photo by Mediamodifier on Unsplash

The image you see above may look like a simple white pillow case, which technically, it is. However, it is also what is used to send to potential clients to approve custom designs before they are physically printed. Mockups can also be used to advertise products without having to use physical product until the item is actually ordered. This is a tool that is used by big and small businesses, and is most common when ordering something custom online. I have not used a website for this before, typically I download free to use mockups from crafting specific websites and then edit them in Procreate or Design Space.

Here is an example of a mockup I created on Canva:

Coding a Website

“Learn web development as an absolute beginner” by Coder Coder

In my last post I discussed the idea of making a website before I would feel ready to print official business cards. There are a few ways that I could go about creating a website for my crafting business. I could use a template based website creator such as Wix, Canva, or Weebly that has free to use templates as well as upgrades that cost extra. Or, I could learn web development and coding to create my own unique website. The idea of learning to code, and the fears that I had associated with that are talked about in one of my reflection blog posts, but coding is not something that I feel confident in trying. The only experience I have in coding so far is from the website Scratch, which is super fun to use, but not something that is advanced enough to help with web design. I do believe Scratch has different sites for different levels of coding knowledge, so there may in fact be something useful on one of those sites that I could look into further.

Image embedded from https://coder-coder.com

In researching online how I could even get started in this process, I came across this video by a content creator named Coder Coder. They have so many helpful videos that guide you through all of the different aspects of learning to code, creating websites, and other helpful topics surrounding coding. I wanted to share this video as a helpful tool for myself to remember, as well as anyone else who wants to start their journey into coding to create a website, or just to learn the basics around coding. The video I chose above discusses how to code from the front end, and the back end of web design. Through more research, I found that this creator actually has their own website/blog that they plan to offer a course on to help you learn how to build your own working website.

Making Business Cards Using Canva

I decided to play around with Canva and tried to come up with some new designs for business cards. The above images are what I came up with, I think it is a super simple but cute design. I was able to use the QR code function within Canva to make a QR code that links directly to my business Facebook page. I am still planning on making an official website for my business, or at the very least updating all of my social media pages so that it is easier to both purchase pre-made items as well as order custom items. I am not sure if I will order these specific cards since I want to ensure they are perfect before I order them, and also I am finding that the prices to order directly through Canva are quite expensive compared to a site such as Vista Print.

How to Download Fonts

Screen Record by Alyshia J.

When using any digital editing software, something that is required if you will be including any type of text is different types of fonts. Typically, any device you use such as a desktop, mobile device, or iPad like I am using, includes pre-downloaded fonts that are free to use. You are not given many to choose from, so many creators like myself will download additional fonts. I found it to be a much easier process downloading new fonts onto my laptop, but I had to learn how to do it on an iPad as I have an app called Procreate that I do my digital designing on.

To download fonts I use an app called AnyFont which downloads fonts directly from outside sources such as Font Bundles which is shown at the end of the video above. The long list of fonts shown in my video are a mixture of pre-existing fonts as well as ones that I have downloaded for free use. There are fonts available on external websites that you have to pay to use but I don’t have any of those at this time. Some are available for commercial use, whereas others are only available for personal use meaning I could not use them in an item I would be selling and making money from. When you click on each individual font it allows you to download it, shows you a preview of the font, and then theres a section that shows you all of the information about where that font has been sourced. I’m not sure why the download feature still pops up as all of the ones shown have already been downloaded.

Learning About the Cricut Maker

“What You Can Do With Cricut Maker!” by Christy Cain – Appalachian Home Co.

I decided to add this video for my inquiry because Christy Cain is a crafter that I have followed for awhile now, and she is very knowledgable when it comes to all things crafting with the machine I have called the Cricut Maker. I added a button below that will link you directly to the Cricut website to learn more about the machines they have and what the company is all about. I have also added a button to link you directly to her Christy’s Etsy page.

I am really excited for the upcoming Christmas season when my classes are paused for the winter break, so that I can have some time for myself to be creative again and try to make some of the items that were mentioned in this video.

Week 10: Final Reflection

Made by Alyshia Joinson using Scratch

For my final reflection I went into Scratch, which is a free to use coding resource meant for beginners that we learned about in this class, and created a cute video. I have never thought of even trying coding before because the idea seemed too daunting and difficult. I had always thought of coding as being a bunch of confusing numbers and symbols, and that it wasn’t something that I was smart enough to do. I was so excited to learn about this resource that made coding fun and simple for a user at any level. I did not go into it thinking I would be able to make music, but there were so many different options of ideas to chose from. On this site you can make stories, interactive videos, music, and so much more. Things I played around with while I was making this Scratch video was animating the saxophone, changing the pitches of the notes and the timing between each note, as well as adding additional instruments and sounds.

I will definitely be using this in some form in a future music class, because it can be a cross-curricular lesson combining coding with music which is so cool! It’s also another mode for students to be creative and make music. Please enjoy Jingle Bells on the saxophone that I created using screen record, WITH audio this time. For this reflection I learned how to use the screen record function on my iPad with the microphone turned on, so that I can now include audio in my screen recordings. I still plan on trying to use the screen sharing option via Zoom, as well as the one on CANVA as well, and other resources that have been shared through this class.

Week 9: Reflection

Today I wanted to reflect on the idea of technology, accessibility and inclusion. Throughout my undergraduate music degree, and now also throughout this PDP program so far, I have struggled with my attendance in my classes due to my physical disabilities and chronic illness. It is challenging to communicate this with professors and peers sometimes due to the attached stigmas, as well as embarrassment in not knowing what these people may be thinking of me, and not wanting to draw more attention to myself. When COVID first started, that was a difficult time for everyone. I myself was worried about my attendance for things even more-so due to the fear of becoming ill. When classes started up again online over Zoom, it was actually one of the best things that has happened since my time in higher education. Online classes has allowed me the opportunity to have the highest attendance I have ever had, as well as feel like I am more involved and actively participating with my peers.

Photo by Sigmund on Unsplash

Another assistive technology that I only learned more about since being in this class was closed captioning on anything that incorporates audio, including Zoom! Although attending classes over Zoom was incredibly helpful, there were still times where my medications caused brain fog and I felt like I could not always follow along by just listening to what people were saying. Having the addition of closed captions has allowed me to better be able to follow along, and I have even started turning on the subtitles when I watch YouTube videos, and shows on Netflix because of this which has made a world of a difference.

Page 1 of 3

Powered by WordPress & Theme by Anders Norén